Vertical or Horizontal GPU Mounting – What’s the Difference?
Installing a new and more powerful graphics card can step up your experience when gaming. Being able to play the newest games in ultra-detail is as good as it gets.
It used to be that you just purchased a new GPU like the Radeon RX 6800 XT 16G and then installed it into your gaming rig and off you went, but now there are a couple of installation methods available to you. Now, you can install your GPU vertically or horizontally.
But the thing is, what is the difference between a horizontal and vertical GPU mount?
What Is Horizontal and Vertical GPU Mounting?
Let's begin with the horizontal GPU mounting since it's the classic method of mounting the graphics card.
Horizontally mounting your GPU is the standard way of installing it, with this method the front of the GPU faces down towards the bottom of the computer case. It’s not the most aesthetically pleasing look but it works and it's tried and tested.
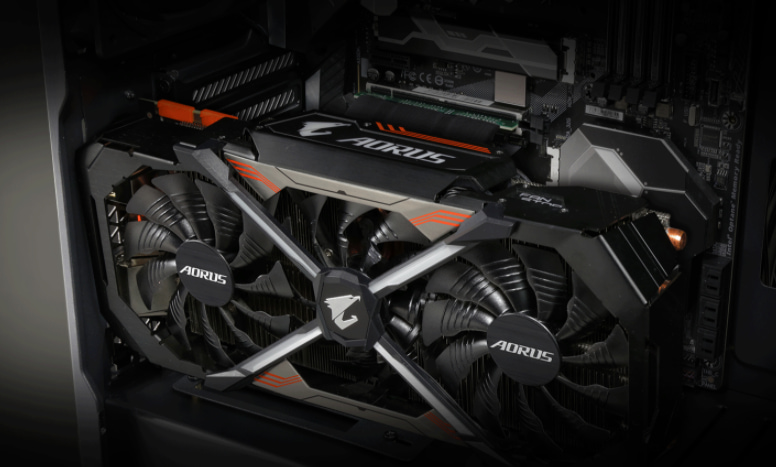
As for the vertical GPU mount, it’s a lavish aspect you can offer your PC. It allows you to show off the graphics card in all of its glory provided you have a clear side panel. This is because the front of the graphics card faces outwards instead of downwards.
If you have a graphics card with RGB lighting, you want to show it off. That's when the vertical GPU mounting option comes into play.
Vertical GPU mounts look excellent. It's because it lets you view your graphics card's cooler, which is often one of the most distinguishable looking pieces of kit in a PC. It's also good to note that a lot of graphics cards today feature lighting as well. Hence, why people often go vertical.
Do note that there can be some issues with some cases when opting for the vertical GPU mount. Either it gets too near the side panels or causes airflow issues for the graphics card.
But despite this, vertically-mounted GPUs can be a great option for building custom liquid-cooled PCs.
What Are the Benefits of Mounting My Graphics Card Horizontally?
.jpg)
There are a couple of benefits to mounting your graphics cards horizontally.
With horizontal mounting, the graphics card isn’t placed up against the glass panel, and it doesn't block other components. As a result, this orientation allows for better airflow and keeps temperatures of the PC parts low.
Since horizontal GPU mounting generally offers better airflow, this also allows for better performance, even when overclocking. Additionally, horizontally mounted GPUs have a longer lifespan.
Unlike a vertically mounted GPU, you won't need a vertical mounting cable for a horizontally mounted GPU. It is the simplest method of installation and just simply works well, albeit not looking the best.
When it comes to thermal performance, horizontal mounting can give you better results due to improved airflow. This is due to the fact that the cooling fans are not up against the side panel of your case. Having the fans facing downwards allows greater amounts of air to be passed across the GPU. This also allows you greater control of airflow direction management.
What Are the Benefits of Mounting My Graphics Card Vertically?

One of the benefits of vertical mounting is that it prevents GPU sag, which is when your graphics card sags down in horizontal installations due to the weight of the card and lack of support. This is easily resolved for vertical installations because you can utilize a GPU support bracket to prevent it.
As for custom PC builders, they regularly opt for vertical GPU mount because of the looks and aesthetics it brings. There is no point spending your hard-earned money on a GPU and not show it off, right?
Aside from showing off graphics cards with RGB lighting, if these cards are water-cooled, utilizing a vertical mount is ideal. It will let you view the best water block and coolant actions happening. This is a view you won't get to see if your graphics card faces the base of your case.
To put it simply, mounting the GPUs vertically brings more appeal and aesthetics to your build.
In this day and age, lots of premium graphics cards sport outstanding RGB effects. Plus, they've become entirely customizable and ideal for RGB lovers. To take advantage of the RGB lighting's full potential, vertical GPU mounting is the way to go.
The vertical GPU mount is also beneficial for people who build custom PCs. Its format is ideal for custom computers, especially for those water-cooled ones. Again, you can simultaneously utilize vibrantly awesome RGB effects that come with the GPU when vertical mounting is used.
How Do I Install My Graphics?

Horizontal GPU Mounting Installation
If you're installing a GPU the classic way, the first thing you need to do is remove the PCIe backplate. Remember, you can't install your card if you don't make enough space in the PCIe backplate.
Then, you must determine the number of PCIe slots you need before removing the necessary PCIe backplates.
The next step is to plug in your card to the PCIe slot. Do note that you might have to position your hand at a slight angle to do it. This process is to ensure that the I/O plates on the card's back easily goes into the backplate. Also, check on the PCIe clip and that it's opened before you install the card.
If it doesn't slot in, check to see if there's anything obstructing the PCIe slot. You'll know that you've done the right thing and that it slots correctly after hearing a click.
Once done, screw the backplate to hold everything in place. If necessary, you can shift your card in its slot for better angling of the screws. Avoid putting pressure on the card when doing so since this may damage it.
Now, you can start attaching the power cables. These can either be a single or two 6-pin, or 8-pin PCIe power connectors. Make sure that you're utilizing the correct ones since using the wrong power cable can immediately damage the components.
Again, you should hear a click if you've connected them properly.
After that will be the moment of truth since you'll need to test your GPU out. But before that, double-check if you've done everything right so you can put your entire PC back together.
Do the usual process of plugging everything in before switching your PC on. You need to do this to see if you're getting an image on your monitor. If you do, then mission accomplished!
Vertical GPU Mounting Installation

If you're installing a vertically mounted graphics card, here are the steps you should follow for proper installation.
First, you must connect the bottom bracket to its side bracket by securing them with three screws.
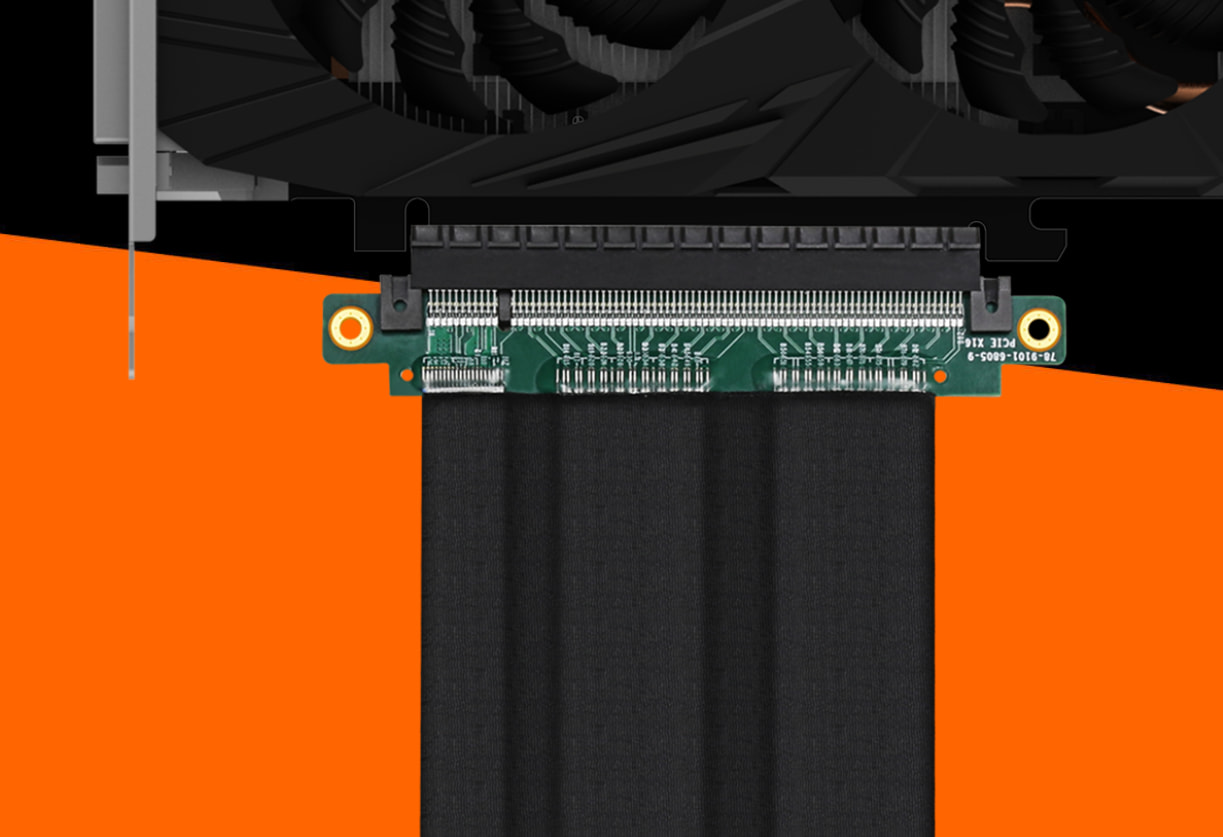
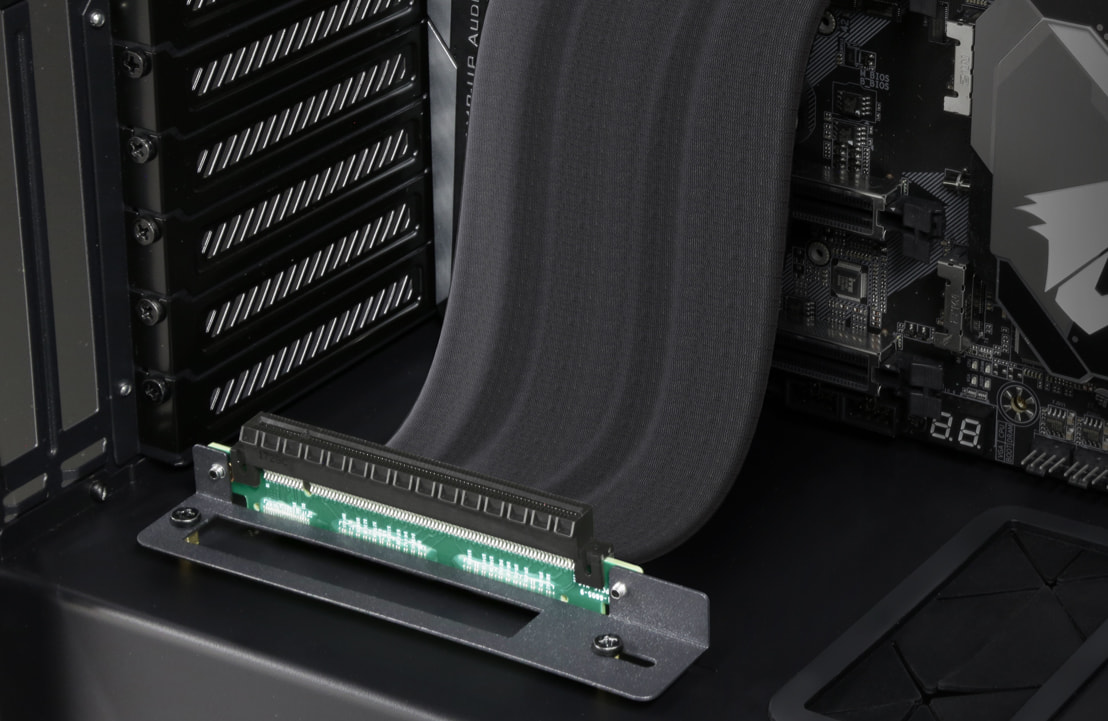
Next, you should secure the PCIe riser cable to the bottom bracket. Ensure that you’re utilizing two screws to ensure that everything is held in place. If you do not already have a riser cable you will want to purchase one such as the Gigabyte PCI-E 3.0 x16 Riser Cable.
Then, install your graphics card on the PCIe riser slot. See to it that you’ve securely inserted it to the bracket using screws as well.
If your case doesn’t have a vertical GPU slot or bracket already, don't worry, you can purchase a vertical GPU support bracket kit for vertically mounting the graphics card.
Make sure that your case is compatible, and that it meets all the requirements necessary for the vertical GPU kit.
This is when you can secure the bracket to your case. Utilize the provided case screws then link the riser to the PCIe slot of the motherboard. After this, you’re done with the setup!
My Graphics Card Is Sagging When I Mount It, How Do I Fix This?
If you’re utilizing a graphics card, you’ve likely noticed the GPU sag. It happens when the encircling cooling solution and shroud gets too heavy to hold the PCB and supporting case bracket. With that, the card will end up bending slightly.
A lot of GPU manufacturers have tried weighing in on carrying out their own solutions. These include the installation of backplates to the PCB for increased durability. It also incorporates utilizing excellent materials in building a cooling solution.
Still, even the priciest and newest cards can appear to sag on the unit’s far side. But luckily, there’s a way to remedy this issue.
A lot of powerful GPUs need additional power to be delivered. It’s done by utilizing one or more power cables linking the unit to the power supply. You can use this to help with the GPU sag by carefully routing the power cables to help reduce the weight and support the GPU.
If your chassis supports an alternative PCI bracket to install cards, we suggest that you make use of them to help with the GPU installation. These PCI brackets help support the GPU and provide a solid installation for it reducing the amount of sag.
PCI brackets offer the best solution to fixing GPU sag and they keep everything looking nice and tidy.
Learn More:
- UNBOXING: Overview of AORUS RTX 3080 XTREME WATERFORCE WATERBLOCK
- LCD Edge View: Exclusive LCD On AORUS RTX 30 Series Graphics Card
- How To Choose Your RTX 30 Series Graphic Card?
- UNBOXING: First Hand on AORUS RTX 3090 XTREME
- UNBOXING: Overview of GIGABYTE RTX 3090 VISION OC and the VISION Family
- Why AORUS designed MAX-Covered Cooling for the RTX 30 Series?
- Beginners 101 – 5 Tips When Purchasing Your New Graphics Card